Indistylemen
How to Shave with a Safety Razor – Double-Edged Razor Shaving
- Get link
- X
- Other Apps
With all the shaving methods possible these days, like the innovative electric shaver (which gives you quick shave) and the multi-blade models sold by everyone from Gillette to Dollar Shave Club, the tried-and-true method of shaving with a double-edged safety razor is still “a cut above.” Today, we’ll discuss some techniques for you to master this supreme shaving technique.
How Do You Shave with A Double-Edged Safety Razor?
Step 1: Pre-Shave Routine
I can’t emphasize doing a pre-shave routine enough. But, what does this mean? For one thing, you can take a hot shower, which makes your hair soft. If you don’t want to shower, you can use a wet towel. The way I do it is I just make a towel wet, put it in the microwave for a minute to make it hot, put it on my face, and let it rest there. It’s very comforting, but it also helps my hair to get soft. If that’s too much time for you, you can also splash your face with hot water for a minute or two, until you can feel that your hair is getting soft.
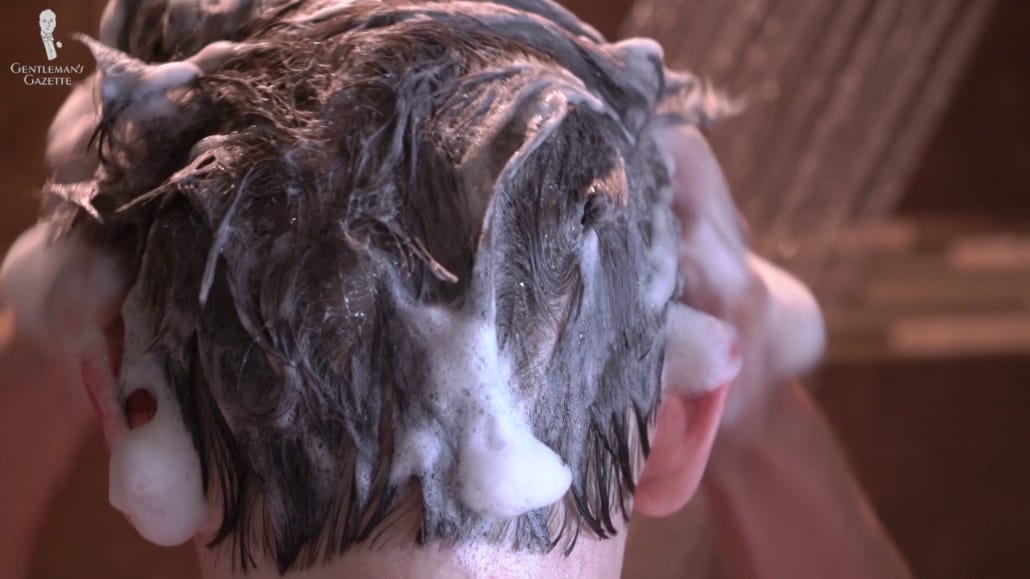
Take a hot shower to make your hair soft before shaving
Step 2: Apply Shaving Cream
Applying shaving cream or shaving lather to your face is next. If you’re in a hurry, I suggest you get shaving cream from a tube. Never use cream from aerosol cans, because these products don’t have enough fat (which is a natural lubricant). You can also use a shaving soap, but you’ll need a brush to lather it up and it takes a bit more time.
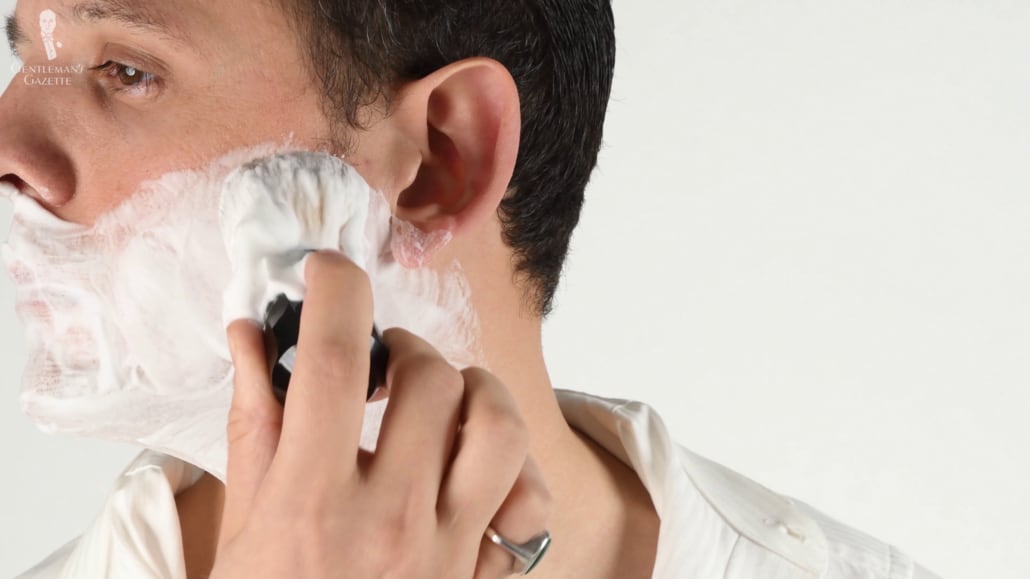
Apply shaving cream
That being said, using the shaving brush is probably the best technique overall, because it puts the lather all around each hair. It also may aid in moving your hair slightly away from your face, which makes the shave easier. Once you’ve got the shaving cream or a lather on your face, it’s time to actually shave.
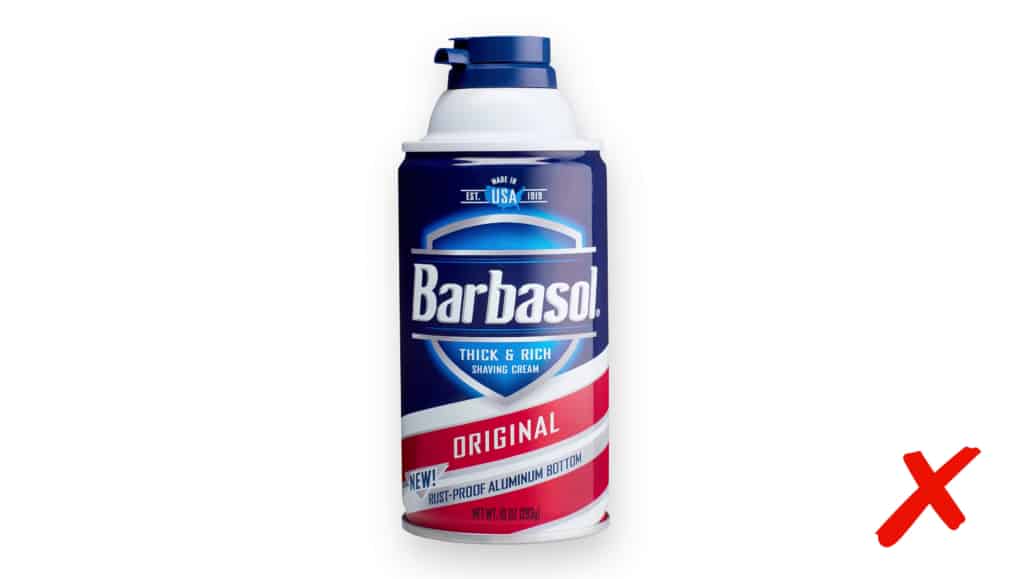
Never use aerosol cans because they don’t have enough fat
Step 3: Begin Shaving, With the Grain
At this point, load up your razor’s head with your blade of choice, and make sure it’s straight and not crooked (because you don’t want to cut yourself). Begin the first pass; don’t worry about removing all of your hair, as a second and (optional) third pass will provide a perfectly smooth result. When you are just starting out, I always suggest to stand in front of the mirror and look at the growth directions of your beard hair before you even start shaving or lathering up. If you can’t remember how your beard grows, use a pen and paper to diagram the directions you think your hair is growing. Honestly, it’s very simple. Just look at it closely and you’ll see it.
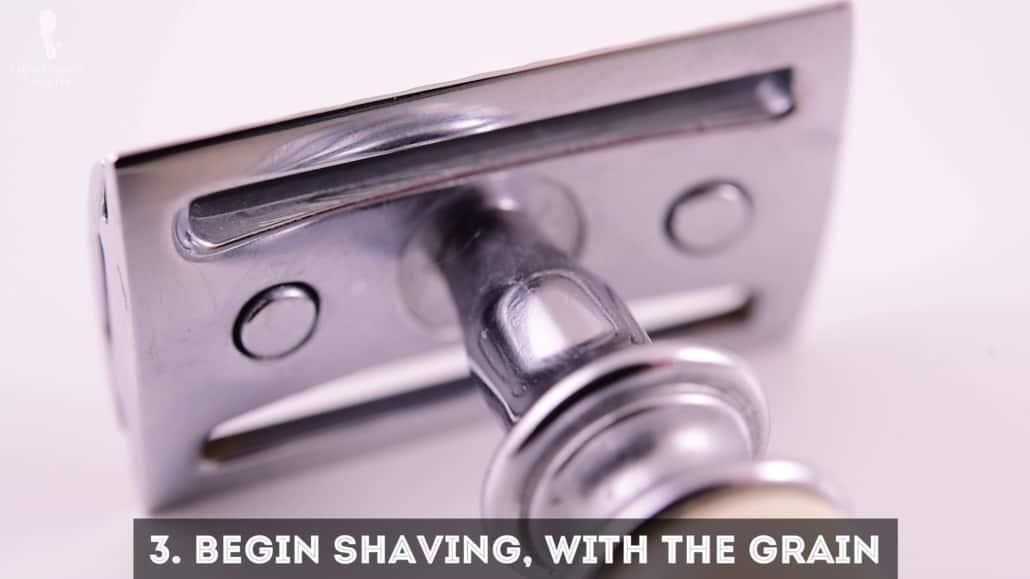
It’s important to shave in the direction of your hair grain as it’s much less stressful to your skin.
Why is it important to do this, you ask? Well, in the first pass, you want to shave in the direction of your hair grain (or “with the grain”), which is much less stressful on your skin. Honestly, every man has a slightly different growth direction, so it’s hard to make blanket statements. Personally, I’ve memorized my growth directions, so I know exactly in what way I have to shave.
When you make a pass, always ensure that your skin is tight or stretched because if there’s loose skin, you’re much more likely to cut yourself. I always use my free left hand to stretch my skin just in the area where I’m going to shave next. For example, that can mean pulling around your sideburn or reaching overhead to pull up, to tighten the area just before the razor blade goes over it. Sometimes around your cheeks, you can also just puff them out with enough air to make the skin tight. In the area below your nose and around your mouth, you can also tighten your skin with your muscles, or just use your tongue from the inside.
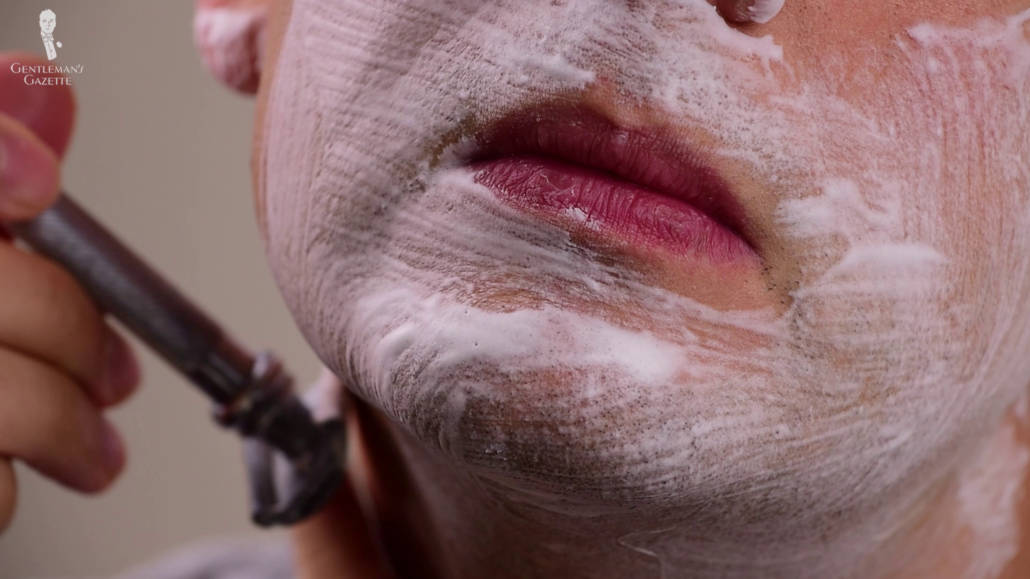
Hold your razor at a 30- to 45-degree angle when starting and at a 90-degree angle with straight strokes.
Depending on the head of your double-edged razor, you should hold your handle at an angle of about 30 to 45 degrees. You’ll hear what the right angle is once you do the pass. When you do the pass, you want to be very gentle on the skin. Don’t have any strong pressure, just use gravity to slide the razor down on your face. Ensure that you make short and slow strokes. When you start, make sure you shave in straight strokes perpendicular to the edge of the blade; that way you’re less likely to cut yourself. Once you’re a little more advanced, You can also have a slight stride; which means you go at a slight angle, because this kind of movement creates a stronger cutting motion.
Alternatively, you could get a handle that is slightly angled, so if you pull down your handle straight it always cuts the hair at an angle, therefore enhancing the cutting motion just like on a guillotine. Frankly, I only suggest those angled heads for people with very thick hair, because it makes for a more aggressive razor; if you have just very thin beard hair, you still get the same result with a less aggressive razor, and your skin will thank you for it.
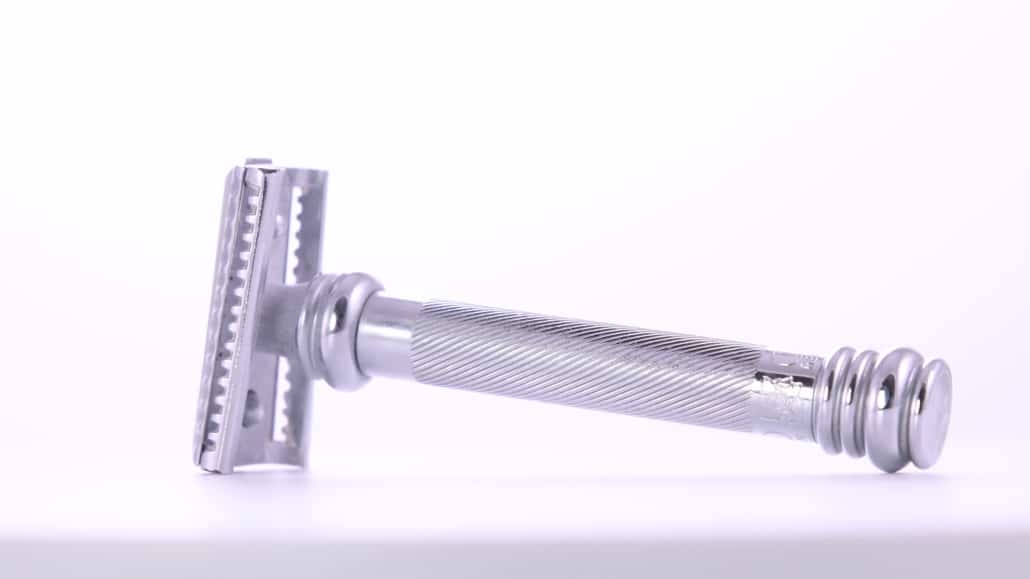
Razors with angled heads are more suited for people with thick hair, because they make for an aggressive razor.
Once you’re done with one or two strokes, just switch to the other side of the blade, and repeat once or twice.
Step 4: Rinse the Blade After Using Each Side
You can either do this under running water or in a sink that’s filled with water. If you feel any kind of pulling or any pain when you shave with a DE razor, it either means that you didn’t do a proper pre-shave routine, or that your blade is dull.
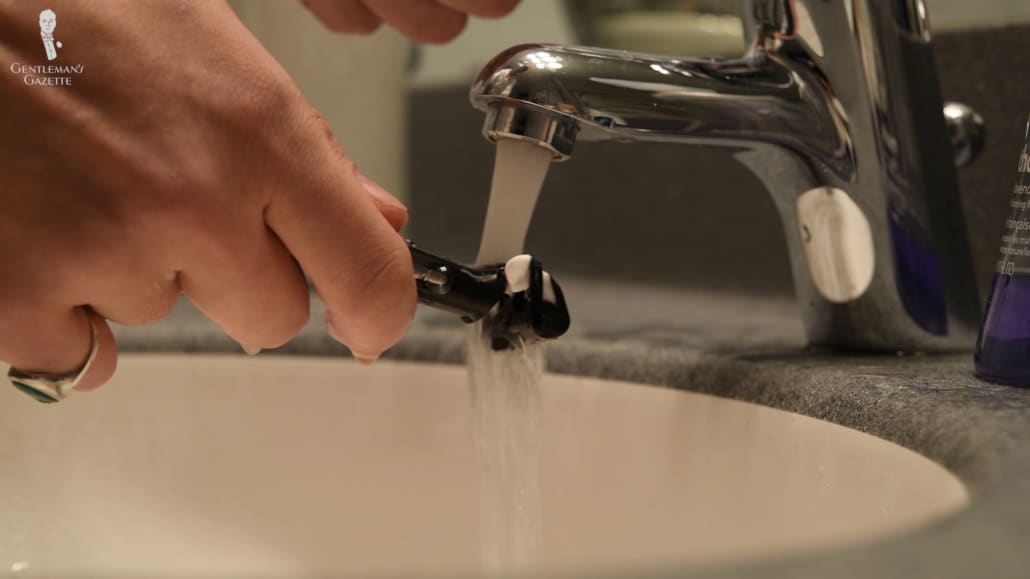
Rinse your razor under running water or a sink filled with water once you’re done shaving.
If you use shaving cream, you can clearly see where you’ve already shaved. Personally, I like to have a little bit of extra shaving cream in my free hand, so I can apply it after each pass. You can’t have too much shaving cream on your skin when you shave, because the cream protects and lubricates the skin. In the beginning, it may be tempting to go over the same area three or four times without reapplying shaving cream; but trust me, it’s better to have new shaving cream applied every time before you shave.
That being said, when you’re just learning a technique; everything is going to take you a lot longer, and so by the time you make it from your right side to the left side, you may already experience a drying feeling on your face. Now, you don’t want a dry shaving cream, because it clogs up the razor and prevents skin protection. Therefore, if you can feel that it gets a little drier, wet your hand, go over the area again, and maybe reapply a little bit of lather or shaving cream so everything is fresh before you shave over it.
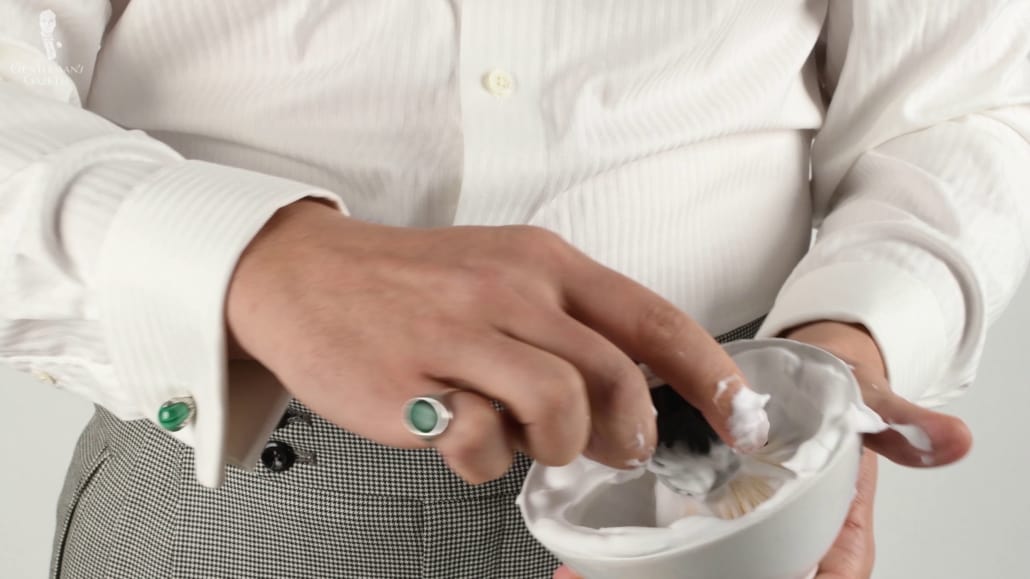
Applying shaving cream protects the skin when shaving.
The tricky areas are usually right underneath your nose and underneath your mouth; again, I use my tongue and some puffed air to make sure the skin isn’t loose in those areas. Also, around your jawline, it can be hard to get it smooth all the way along, so what I do is I pull up my skin so it’s taught, and I get smooth results.

Reapply shaving cream if needed.
Every man has different problem areas. For example, underneath my right ear, I always have to go in a different direction, otherwise it doesn’t get all the hair. The chin is another area where it can be a little bit difficult. Again, use your fingers and your face muscles to keep the skin tight. Just shave in different directions, always reapplying the shaving cream. After you’re done with the first pass, there will likely be still some residual hair in certain places. That’s when it’s time for the second pass.
Step 5: Make A Second Pass, Across the Grain
Again, put shaving cream on your face with your hand (or you lather up and use a shaving brush), and then cut “across the grain.” What does this mean? Not against, but at a 90-degree angle, perpendicular to the direction of hair growth. Again, pull your skin tight and shave in the same manner as you did before, just at a 90-degree angle.
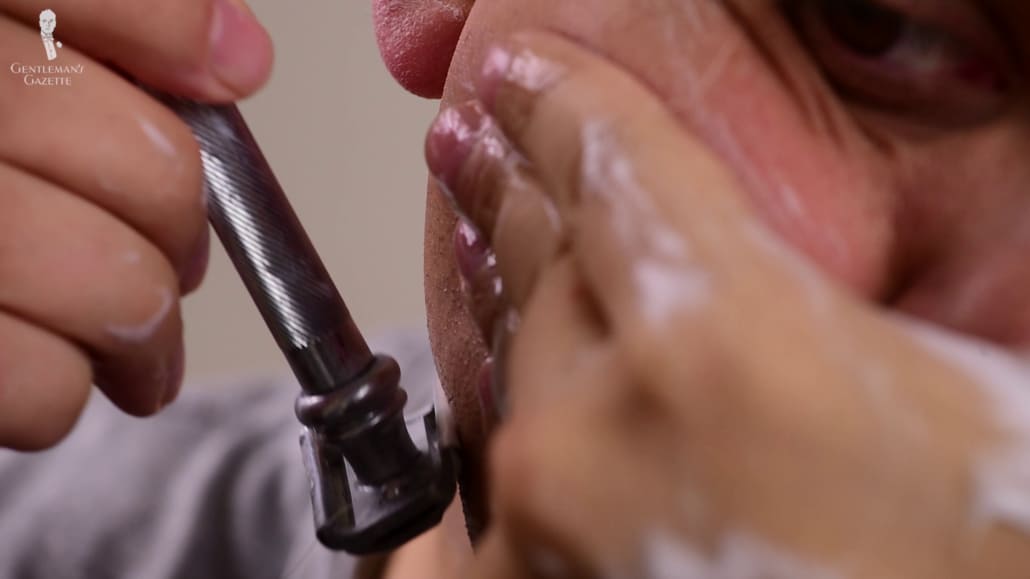
Make a second pass with a 90-degree angle.
Step 6: Make An Optional Third Pass, Against the Grain
Most men are done after the second pass, but if you have thicker hair or if you want an even better and closer shave, you can do a third pass, “against the grain.” If I do this, it cuts my hair below the skin level, and even after 24 hours, my face is just as smooth as if I would have just shaved it with an electric shaver. I know it sounds too good to be true, but my wife is amazed every time she feels my smooth, baby butt-like skin on my face.

Proper DE shaving should give you smooth, baby-like skin, just like Sven Raphael Schneider!
When you shave against the grain, it can feel more aggressive on your skin and you can also hear the cutting motion more. Shaving against the grain may lead to more irritation in some areas, as the hair may be cut below the surface; trial and error should be your guide here. Once you’re done with the third pass, it’s time for the next step.
Step 7: Close the Pores with Cold Water
Splash your face with cold water to close up your pores. Some people use ice water because they believe it does a better job of closing the pores and stopping any kind of bleeding. I find regular cold tap water is just fine for me.

Close your pores with cold water
Step 8: Soothe the Skin with A Post-Shave Product
Afterward, it is very important to add a post-shave balm or product. Every company that offers shaving creams also has post-shave products. Some will be more fragrant than others. The traditional, old-school, all-alcohol varieties are not recommended, because they dry out your skin. I find that an inexpensive Nivea aftershave balm for sensitive skin is a great product, and it doesn’t cost much.
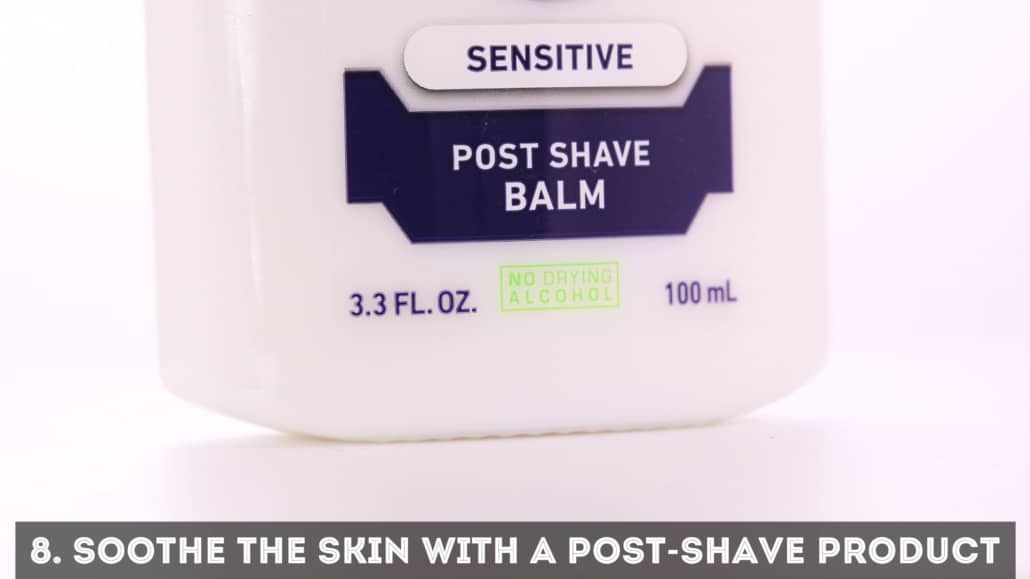
Don’t forget to apply a post-shave balm to heal irritation.
How Can You Achieve A DE Result Faster?
The result of a DE shave is superior to any cartridge razor shave, and on par with systems like Supply or OneBlade. Some may argue it’s not quite as good as shaving with a straight razor, but that also takes a lot longer and requires even more technique. In my mind, a straight razor is not something I would use on an everyday basis, simply because it takes too long. It’s more something you’d use on the weekends when you really want to enjoy the shaving process.
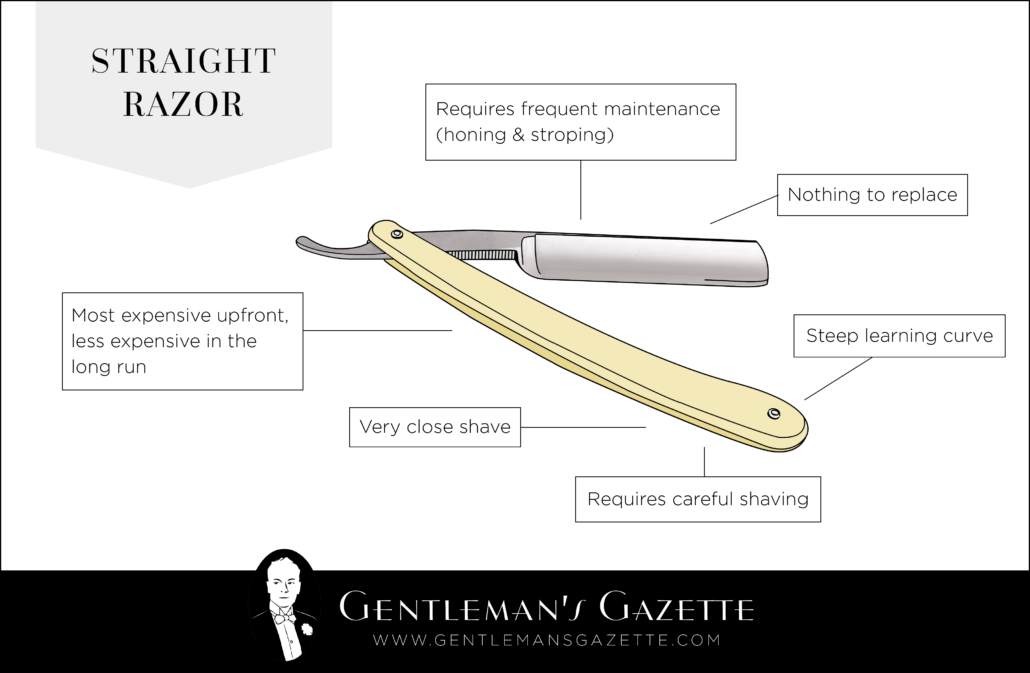
The Pros and Cons of Straight Razor Shaving
The big question here is, how can you achieve that same result of a DE shave, just a lot faster? Let me share with you my shaving routine, which is geared towards the best result in the shortest amount of time.
Step 1: Pre-Shave Routine
First, I start by taking a warm shower (not doing any other prep work with towels), or just splashing my face. Just taking a regular shower the way I would normally already does enough to get my hair in the right condition.
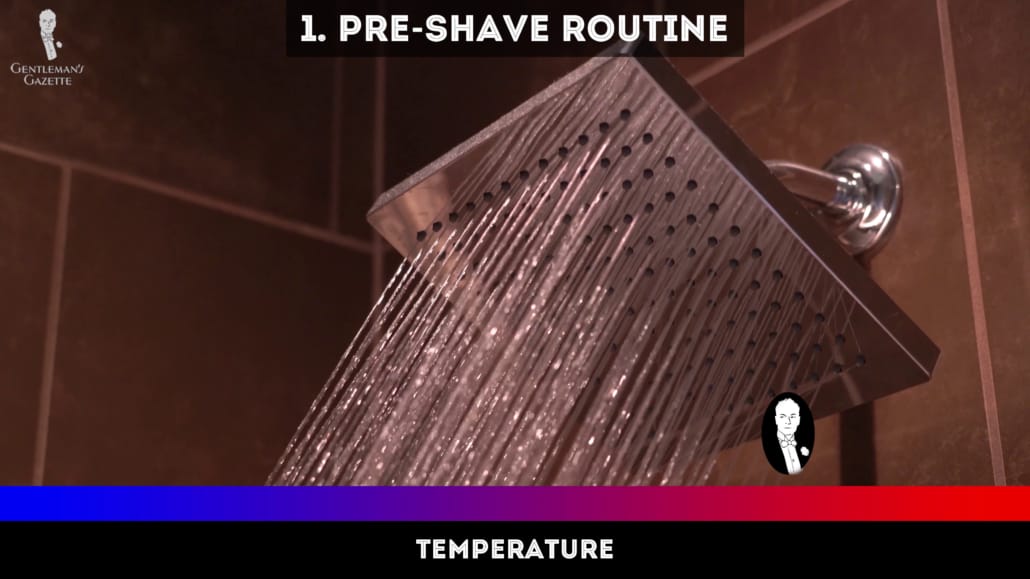
Taking a warm shower before shaving conditions the hair.
Step 2: Apply Shaving Cream by Hand
I apply shaving cream out of the tube with my hands because that way, I don’t have to lather up or clean a brush, and it’s super quick.
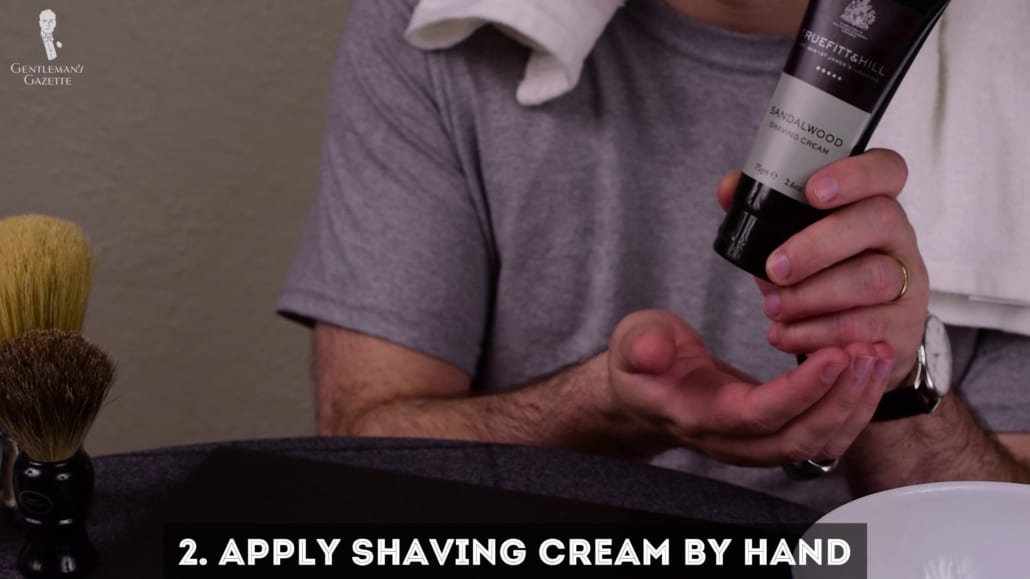
Applying shaving cream by hand saves you a lot of time.
Step 3: Make A First Pass with an Electric Shaver
I use an electric shaver to get rid of all the excess hair on my face. This is the equivalent of the first, and maybe the second pass, but it’s a lot faster–and you don’t have to pay attention to cutting yourself, because electric shavers are pretty good at minimizing this. All you have to ensure is that your electric shaver is meant to get wet; if not, you have a problem!
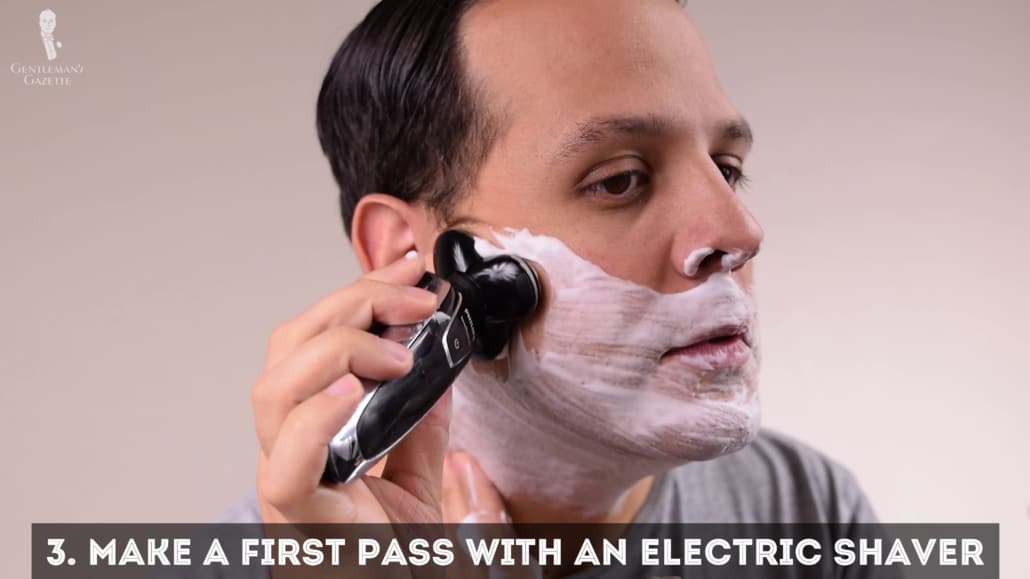
Use an electric shaver to get rid of excess hair.
I prefer a wet electric shave compared to a dry electric shave, simply because it gets a much closer result, and it can be done with shaving cream.
Step 4: Make A Pass Against the Grain with a Safety Razor
Once I’m done with the electric shaver, I simply reapply shave cream with my hand, and go against the grain once with my double-edged razor. In addition to saving time, another advantage is that my blades last a lot longer this way, because it’s just one pass, not two or three.
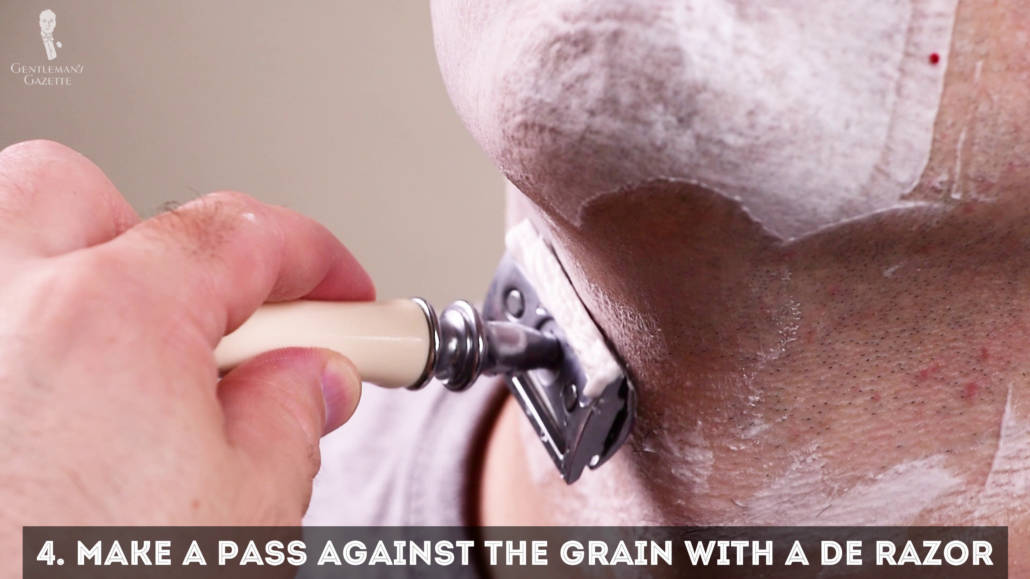
Make a pass against the grain with a DE razor for a smoother finish.
Step 5: Post-Shave Routine
Afterwards, I clean up with cold water and add my post-shave balm. And that’s it! I can do all of this in about five to six minutes. Of course, when you’re starting out, it may take you a little longer, and this method has a disadvantage that you also have to invest in a waterproof electric shaver, which can add $200 or $300 to the overall upfront investment. But for me, it’s totally worth it because it saves me time. If you’re honest with your time, I think it’ll be worth it for you, too. Just calculate how much time you would save over the course of a year, two years, or five years.
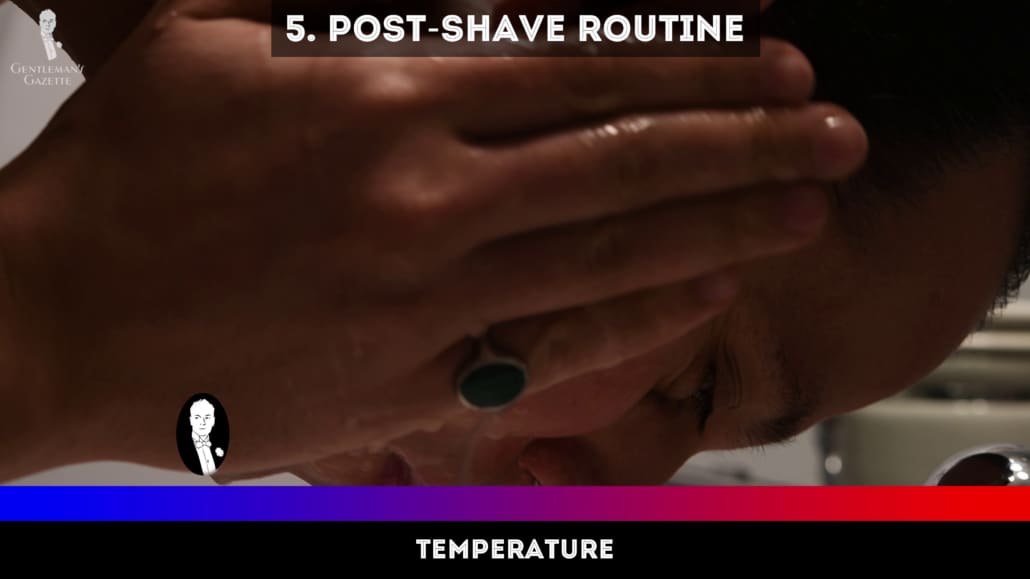
Clean up with cold water.
Conclusion
That’s everything you need to know about how to shave with a DE razor in the classic way, as well as my personal time-saving way. If you want to learn more about shaving, check out the complete shaving guide here.
What’s your current shaving method? Do you use a DE razor? Share with us in the comments!
from Gentleman's Gazette https://ift.tt/2NWcJnj
- Get link
- X
- Other Apps
Comments
Post a Comment
thanks for your feedback